I got this Oliver & S
Little Things to Sew book for my birthday. I love so many of the patterns in
it I already made the Messenger Bag (I made it into a bike bag, check out my post here.) I also used the Bucket Hat pattern in my entry to Project Run and Play (check out the post here.)
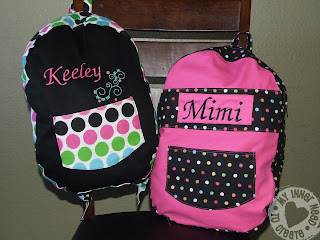
Two of the girls on my soccer team (they are twins =) are having a birthday party and we are going. I wanted to make them something special and I thought of the backpack pattern in the book.
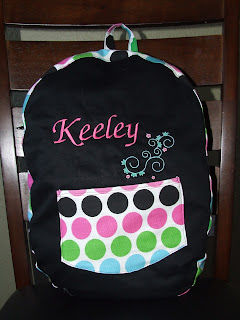
I think that they turned out great! I found this great printed broad cloth at Hobby Lobby and got to use my embroidery function on my machine.
I made a few changes to the pattern.
First- I was afraid that the pattern was too small and the bag would turn out too small for a regular size folder or papers, so I increased the size of the front and back panels by about an inch all the way around. I also had to increase the width piece so it would be long enough to make it all the way around the bag.
Next- I found after I traced and cut out all the pattern pieces that even though the photo in the book shows the backpack in the plain style (with a single piece flat front) as well as in the penguin embellished style with the split front, that the pattern has the split front panel for both styles. So I used the front panel liner as the pattern piece for the front panel piece as well as for the liner front panel piece.
I did the personalization and the pocket onto the front panel before starting the pattern directions and assembling the bag.
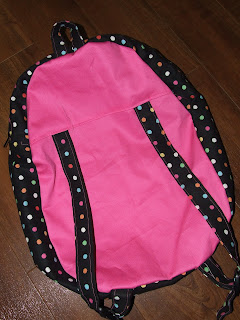
After I finished the bag (but before inserting the lining) I had my girls try out the bag and found that having the straps sewed into the middle (ish) of the bag made the top of the bag hang over and look weird. This could be because I made the bag bigger, but just warning you, you might want to try it our before inserting the lining. So I moved the straps up and inserted them into the seam at the top of the bag.
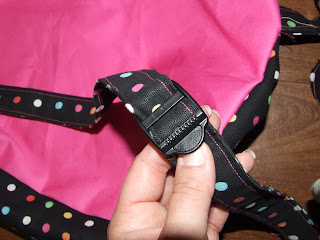
I also couldn't find the 1.5 inch strap adjusters the book calls for. So I just used the 1 inch backpack strap adjusters I found at the store. Just adjust your straps to be 1 inch instead.
Here is the finished bags:
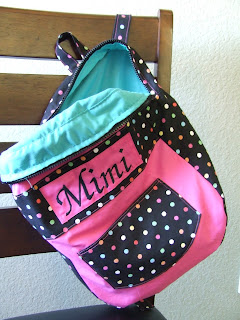
I lined the bags with a soft cotton in aqua and it really finished off the bags.
Hope the girls like them! Have a great weekend!






I LOVE these backpacks...I seriously would have guessed you ordered for some large amount of money...they turned out splendidly!
ReplyDeleteThanks! I was really happy with how they turned out also!
DeleteOh my goodness, I am with the above commenter, when I first saw this I thought wow, she fancied up a back pack but you made it... SO AMAZING! Your daughter is invited to my daughters party any time... LOL! I showed this off today!
ReplyDeleteCarlee
www.ladybirdln.com
You made my day! Thanks for your comment and for featuring me on your site!!
DeleteLOVE these!! The aqua fabric inside matches perfectly!
ReplyDeleteLimit the weight of your bag to 15% of a child's body. You don't want your child to develop any back issues early on which may affect them later on in life.
ReplyDeleteThat’s so amazing, Jessica! You made an extraordinary stuff out of an ordinary knapsack! It made your kids very excited about going to school. I knew it because I made one for my daughter as well. =)
ReplyDeleteLeonia Shearer