When I was cleaning up my closet this week (BIG mess now that I have to store all my craft supplies in there with my clothes) I found a box marked blank shirts to applique. In the box I found two lavender t-shirts and I instantly remembered the tutorial I read over at
Make It Love It blog for valentine shirts.
So I started on making the girls some puffy heart shirts for valentine's day. I followed her tutorial to the "t".
I even found an old t-shirt of mine that had a lot of curl to it when cut and stretched. The little curls line up nice when sewing but when you have to fold them to the side to sew the second row they like to lay flat and cause some problems.
Here is how it looks after sewing (before trimming). I trimmed a little making everything nice and even but after I had my daughter try it on I found that the length was too long because it made the heart too heavy and it pulled funny.
So I continued to cut and cut and cut- don't be afraid to trim away, I promise it looks better shorter. Here is the mess I made with all my trimmings:
I cut a hole in the shirt and ironed around the sides.
It was hard to get the heart to line up nice in the hole. I was afraid of cutting too much of the shirt so I slowly trimmed little by little to get it to fit.
I even got to use my double needle for the first time!! EASY!! Can't believe I haven't used it before now!
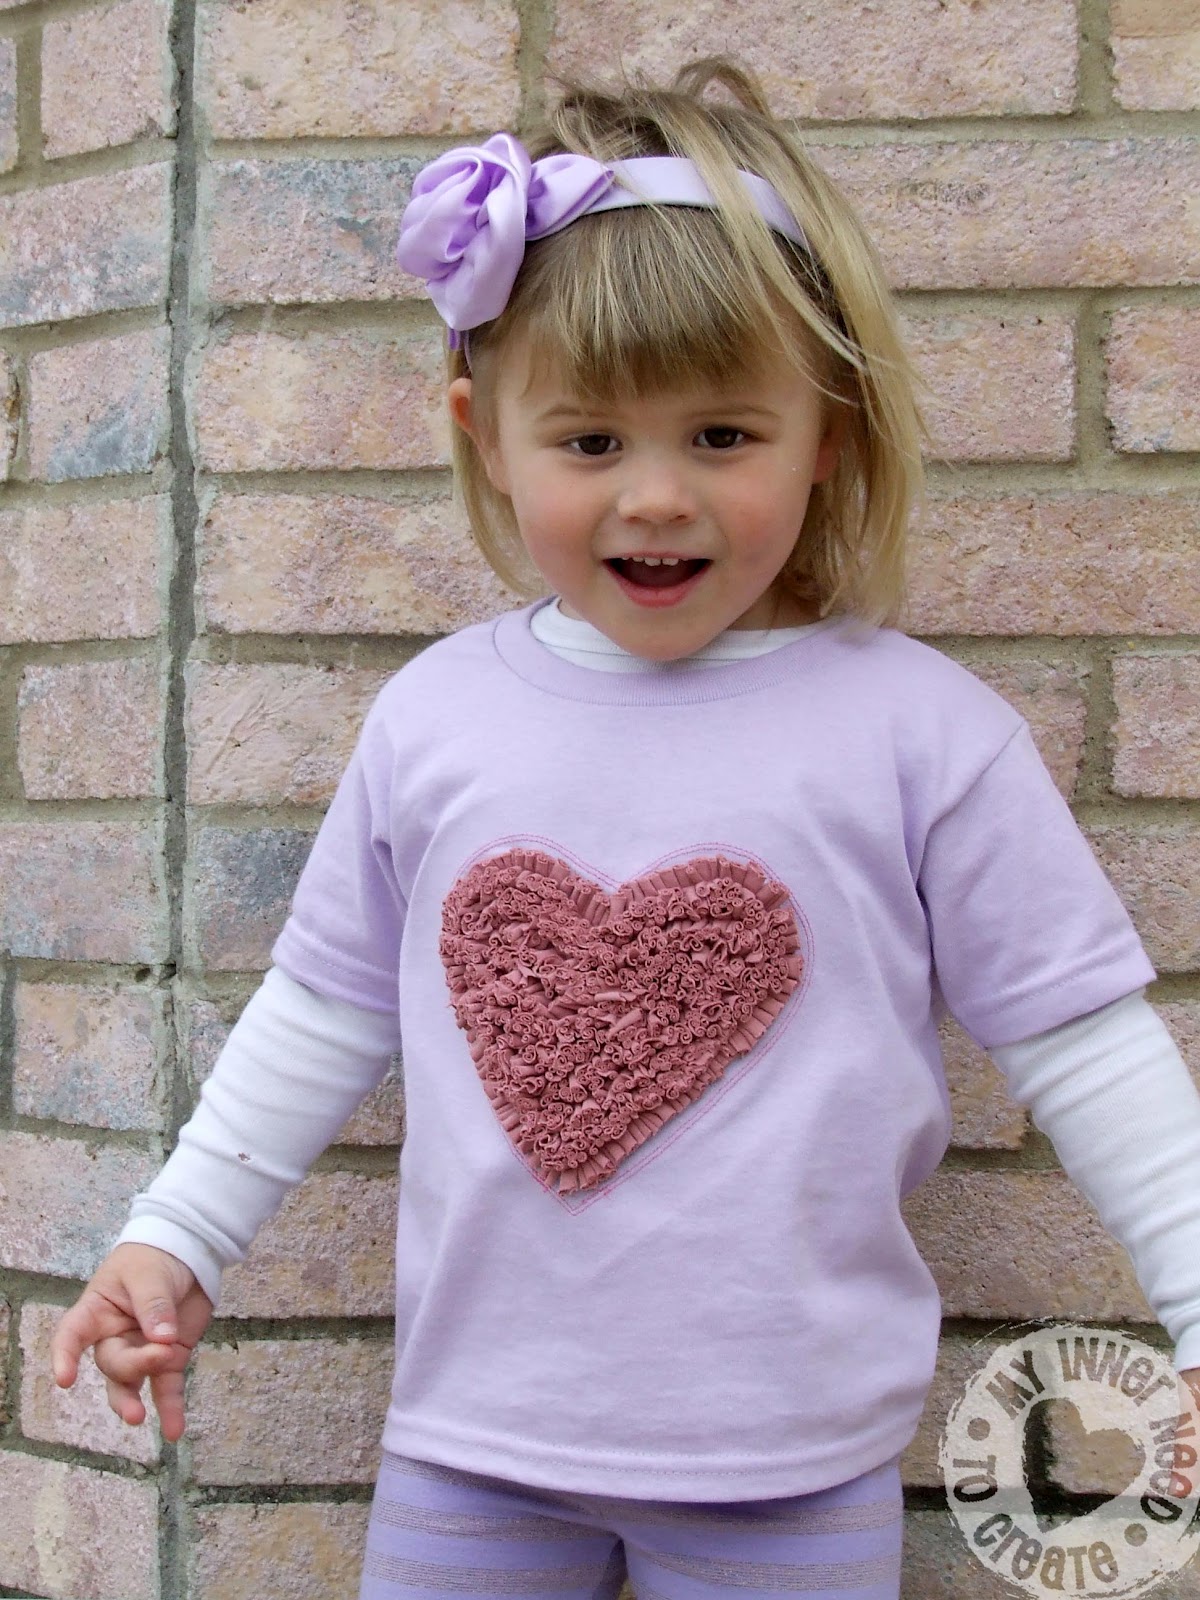
Here is the finished shirt:
I like the way it turned out, and more importantly so does my daughter (she thinks that it is like a care bear stomach and spent the day walking around rubbing it). But I don't like the way the fabric with the iron interfacing is stiff and you can see the edge under the shirt. I knew that it was going to do this (it's happened before when I embroider onto t-shirts and use the interfacing behind it) so I cut the interfacing in a heart shape instead of square like
Make It Love It tutorial so it bugs me less than it would of.
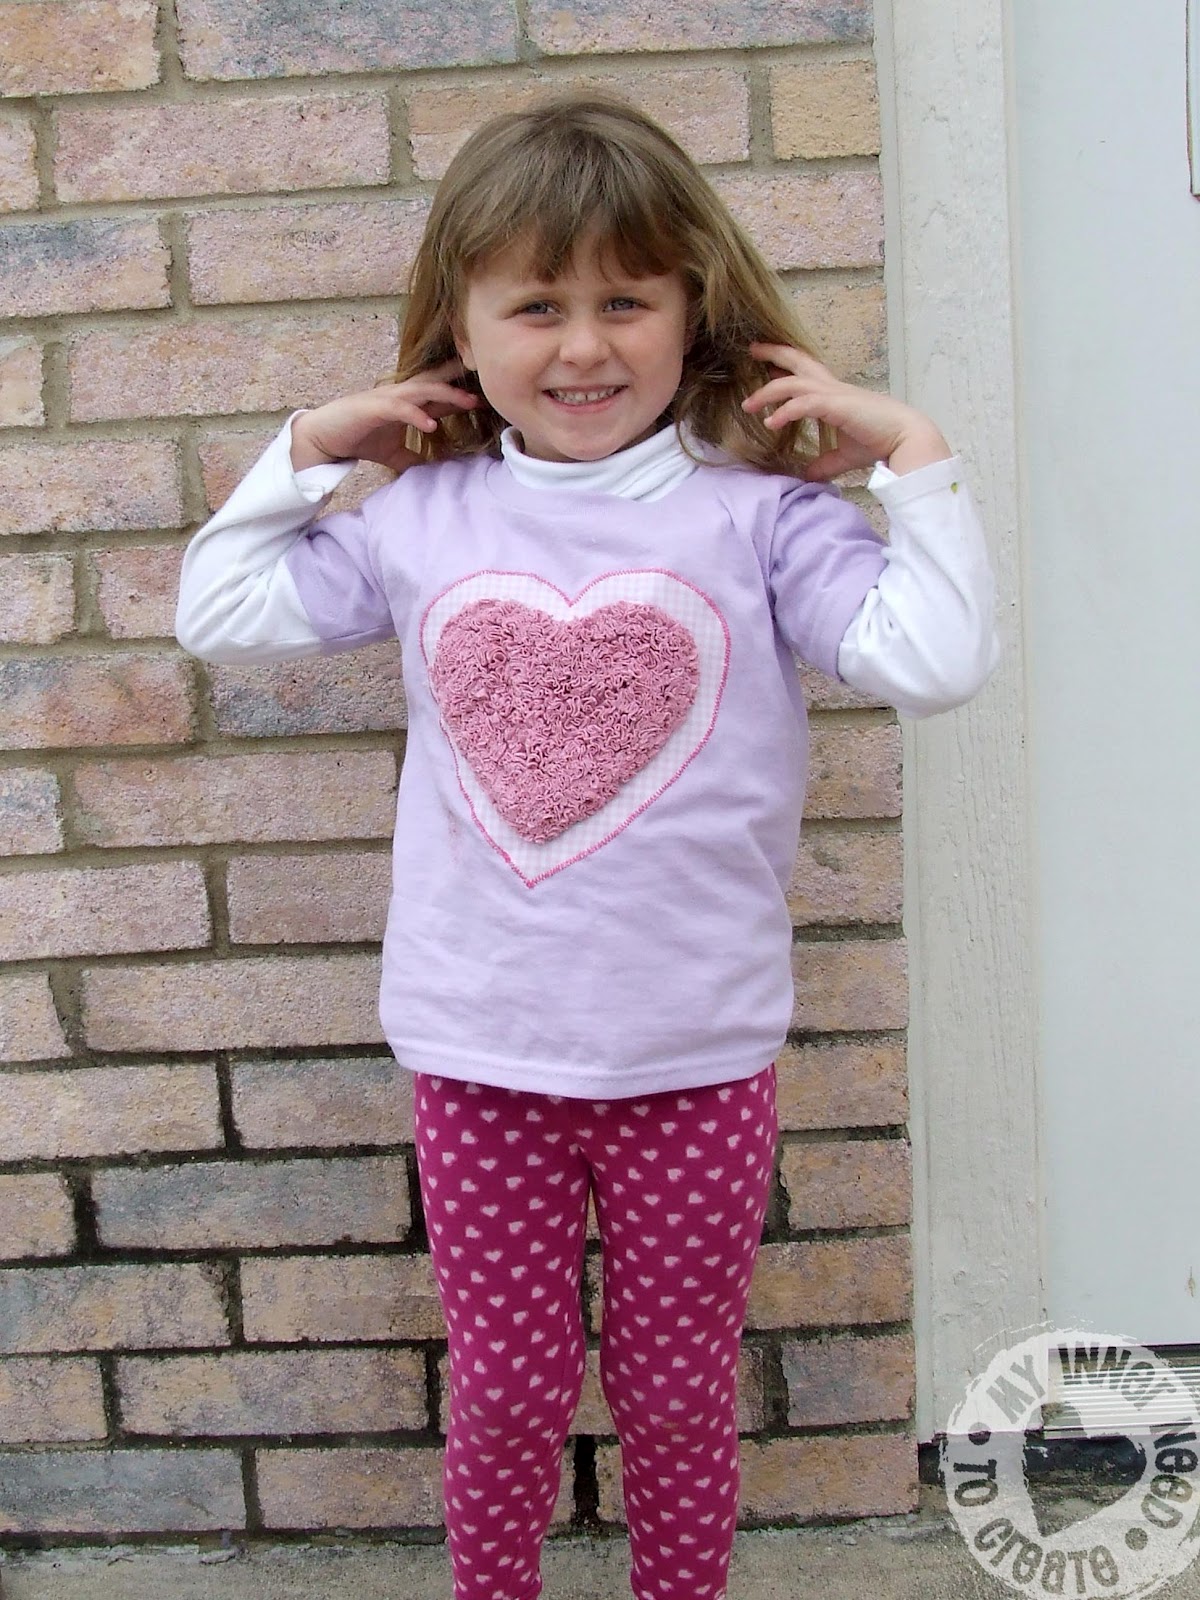
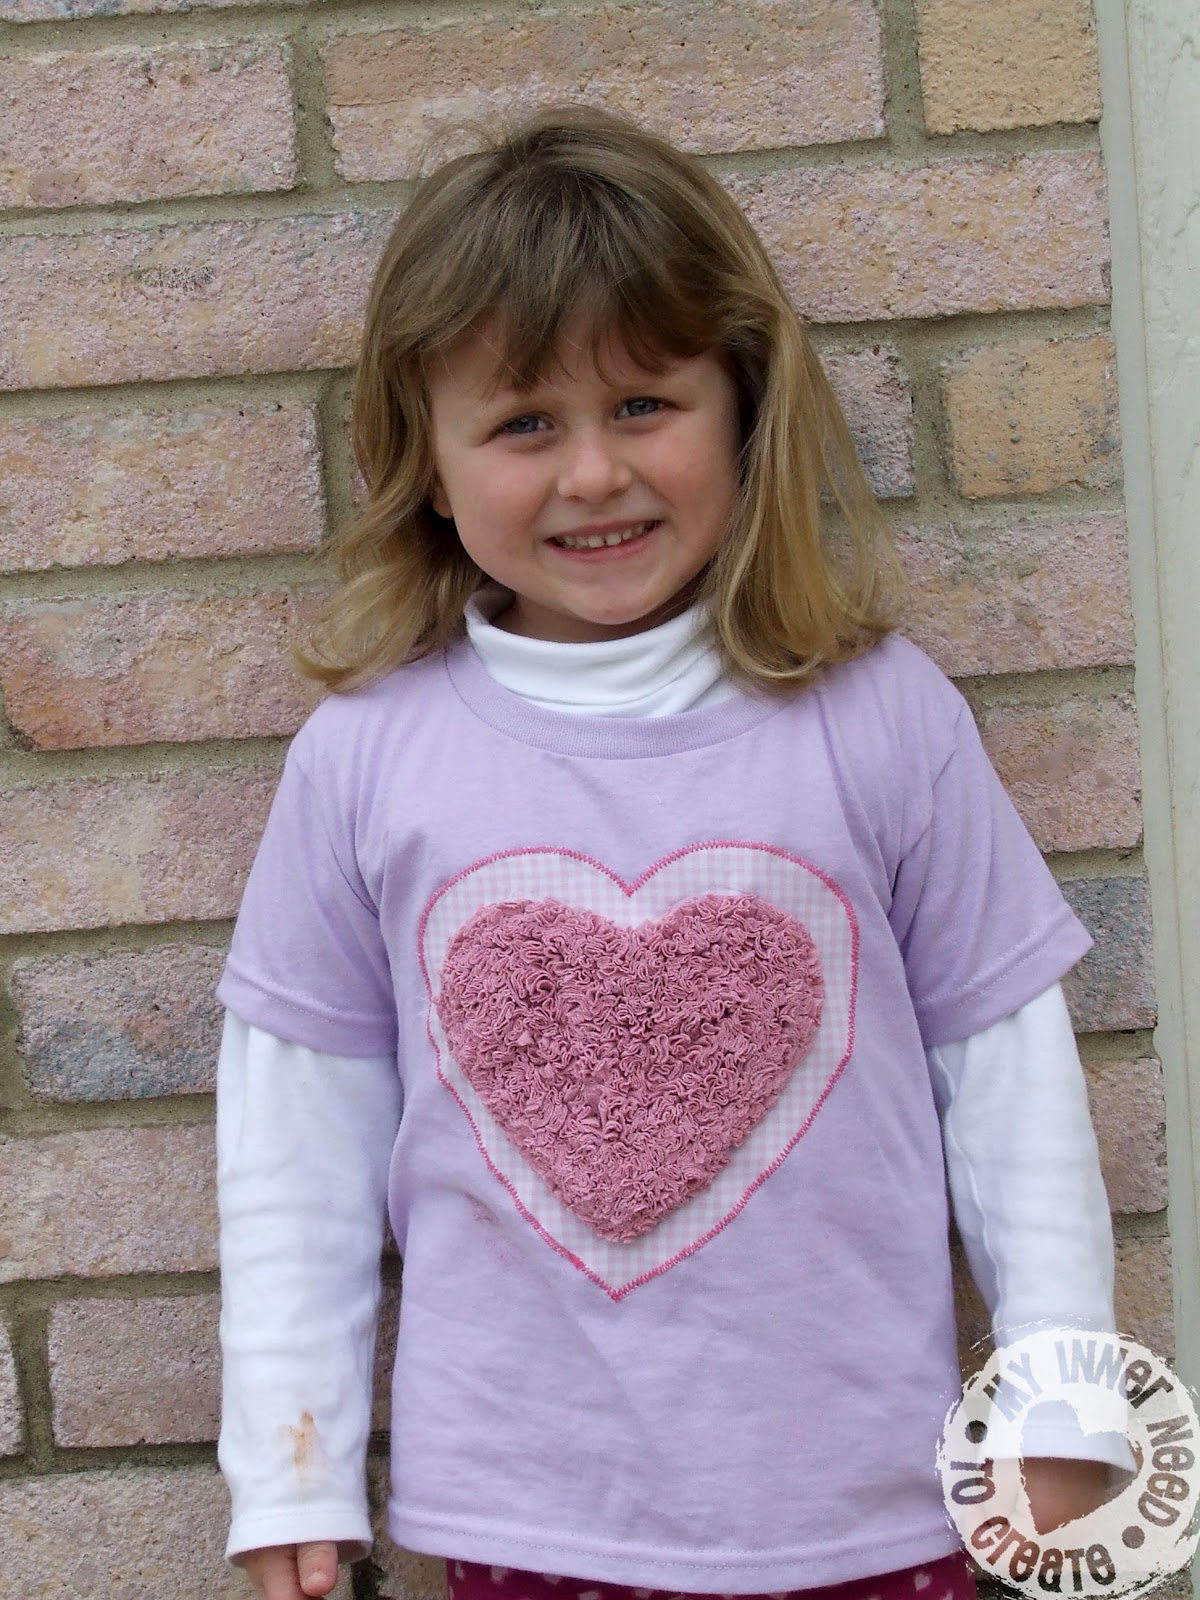
But learning from my first project I decided to do something a little different for the second shirt.
I didn't have enough of the curly shirt left to make the 2nd heart and the second t-shirt I cut strips from didn't curl when stretched.
I sewed them on to the heart the same way as the first but these didn't line up nicely one by one more like overlapping and random. But on the second row the fabric was a lot easier to fold over and made the sewing a lot easier.
Because more strips were squished in the heart turned out fluffier and more dense.
Next I cut out the heart from a piece of fabric with the interfacing ironed on to it.
I took the heart outline and placed it around the heart, between the fluffy strips and the heart I sewed them on to:
This is so when I sew it it will hold the heart onto the shirt.
Then I zig-zag stitched around the outside of the heart and just regular stitched close to the puffy heart holding them both in place.
Two shirts down, one to go....
Now what do to for a valentine shirt for a 7 year old boy....