Sunday, April 24, 2011

Rocker Boy T-Shirt Refashioned into Girls' Dress

Girl in refashioned boy t-shirt into girl dressGirl in refashioned boy t-shirt made into a girl's dress


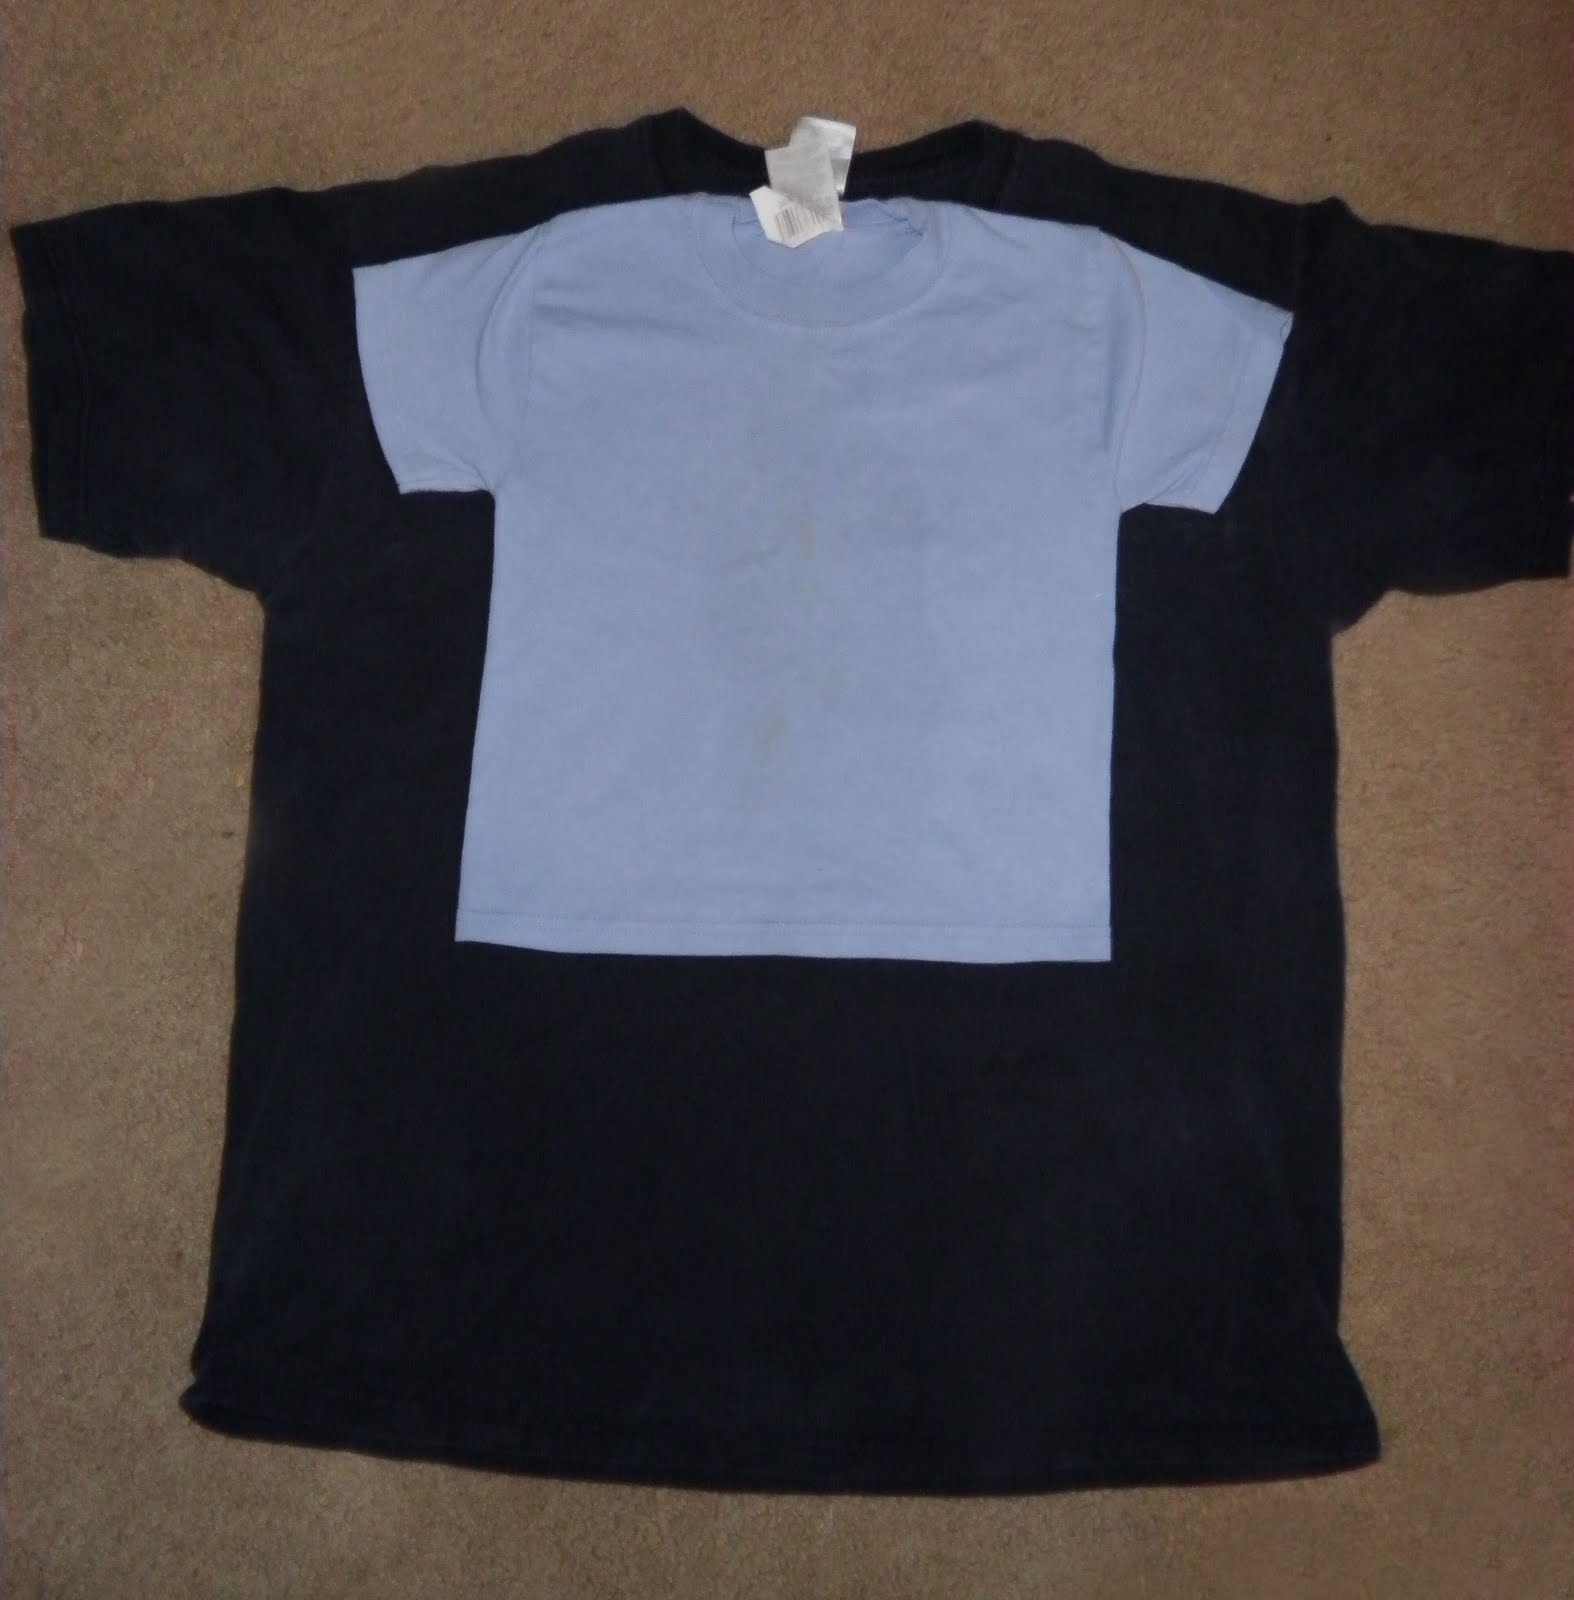
So since I had my son first and only have one boy after he out grows his clothes- that's it. It feels kind of wasteful since the girl's clothes get worn by 2 people... so a couple of cute shirts I held back to see what I could do "girl" them up.

First I sewed an extra piece of knit onto the bottom (will use this to attach the ruffles to):
Refashion a boy's t-shirt into girl's dress

Next I cut out 3 strips of different colors. If you are using other t-shirts to do these strips (I used adult tee's) I cut 2 pieces off the bottom of the shirts and then cut each one at one seam and attached them to make them into one big loop. I don't have a serger so I just zig-zaged around the one side and then gathered the other side of all three loops.
Refashion a boy's t-shirt into girl's dress

Next you just sew the gathered edge onto the extra fabric at the bottom and it is a girls dress!
Refashion a boy's t-shirt into girl's dress

Very girl-ish! 
Girl in refashioned boy t-shirt made into a girl's dress


Girl in refashioned boy t-shirt made into a girl's dress


 And as comfortable to play in as a t-shirt!
Girl in refashioned boy t-shirt made into a girl's dress

Girl in refashioned boy t-shirt made into a girl's dress


Tuesday, April 19, 2011

Refashioning an Adult T-shirt into a Kids T-shirt...


A couple months ago my husband gave me some old work T-shirts, I was going to use them to make some thing but as I sat down to cut them up I thought that they would be better used as shirts for the kids. My first attempt was to use the 90-Minute Shirt Pattern from Made. It is the one in the middle with the white collar. I liked the way it turned out but I think it looks a little baby-ish for my kids. (the words are from the back of the shirt- I thought it would be cute on the front for a change, on the other shirts these words are on the back like on the real adult t-shirt)
So for the shirt for my son I decided to try something different and just resize the shirt. It was easier than I thought. I just used one of my son's shirts as a pattern (remember to add seam allowances) You will need to cut the collar but you will resew it together at the shoulder seams and the end result looks like you bought it that size!


I am totally going to do this to alot of shirts (we get so many event t-shirts in XL which NONE of us wear and these will work great for pajamas!)  I love the way I can make them a little longer which is more the style now.

Up next is to take a college t-shirt and resize it (it is college t-shirt day on report card day for my son and I have a lot of college adult size t-shirts, so... after this refashioning I realized that it will be easy to make it his size!)

Sunday, April 17, 2011

Spring Cardigans

So in Texas we don't have spring but for a day or two in between the beginning days of summer. But I find myself in this weird season right now- it is nice and cool in the mornings but on the warm side in the afternoons. So while looking through my girls' closets for dresses to wear in the coming weeks for Church, Easter, and a Dedication at church I realized how many of their dresses are sleeveless. These work well for summer but dresses with at least short sleeves would be better in the cooler weather especially in the mornings. So I thought I would make up a couple of quick short sleeved cardigans... and I am SO pleased with how they came out!!


I think that the ruffle really adds to the cardigans and makes it a little dressier for special occasions.
They were really quick and easy (I finished both of them in about an hour). I just traced one of their t-shirts for the sizing. I lined the entire jacket with a thin knit so that all the seams are hiden and the ruffle stands up correctly.
They worked great for this weekend's Easter Egg Hunt!

A bag for everything...

Well, it seems like I make stuff for everyone in this house except my husband. Sure I mend things for him, sew on buttons, fix shoes and ripped seams, and I am pretty sure I knitted him a hat =)
Anyways- so I finally created something for him! A bag to carry his PlayStation in. So this is what I came up with:


 With all his gadgets in it:


 And closed and ready to go:


I made the bag with thick upholstery fabric on the outside and the navy blue fabric on the the inside is a thick canvas/duck fabric. I also inserted cardboard in the top and bottom of the bag to make it a little more sturdy and protect the electronics.