


The Mei Tai looked to be the best one to replicate, it has no snaps, hooks, etc and it says that it is good for children up to 4 years old. It is just fabric and it ties around you and the baby. Here is the actual brand named one:

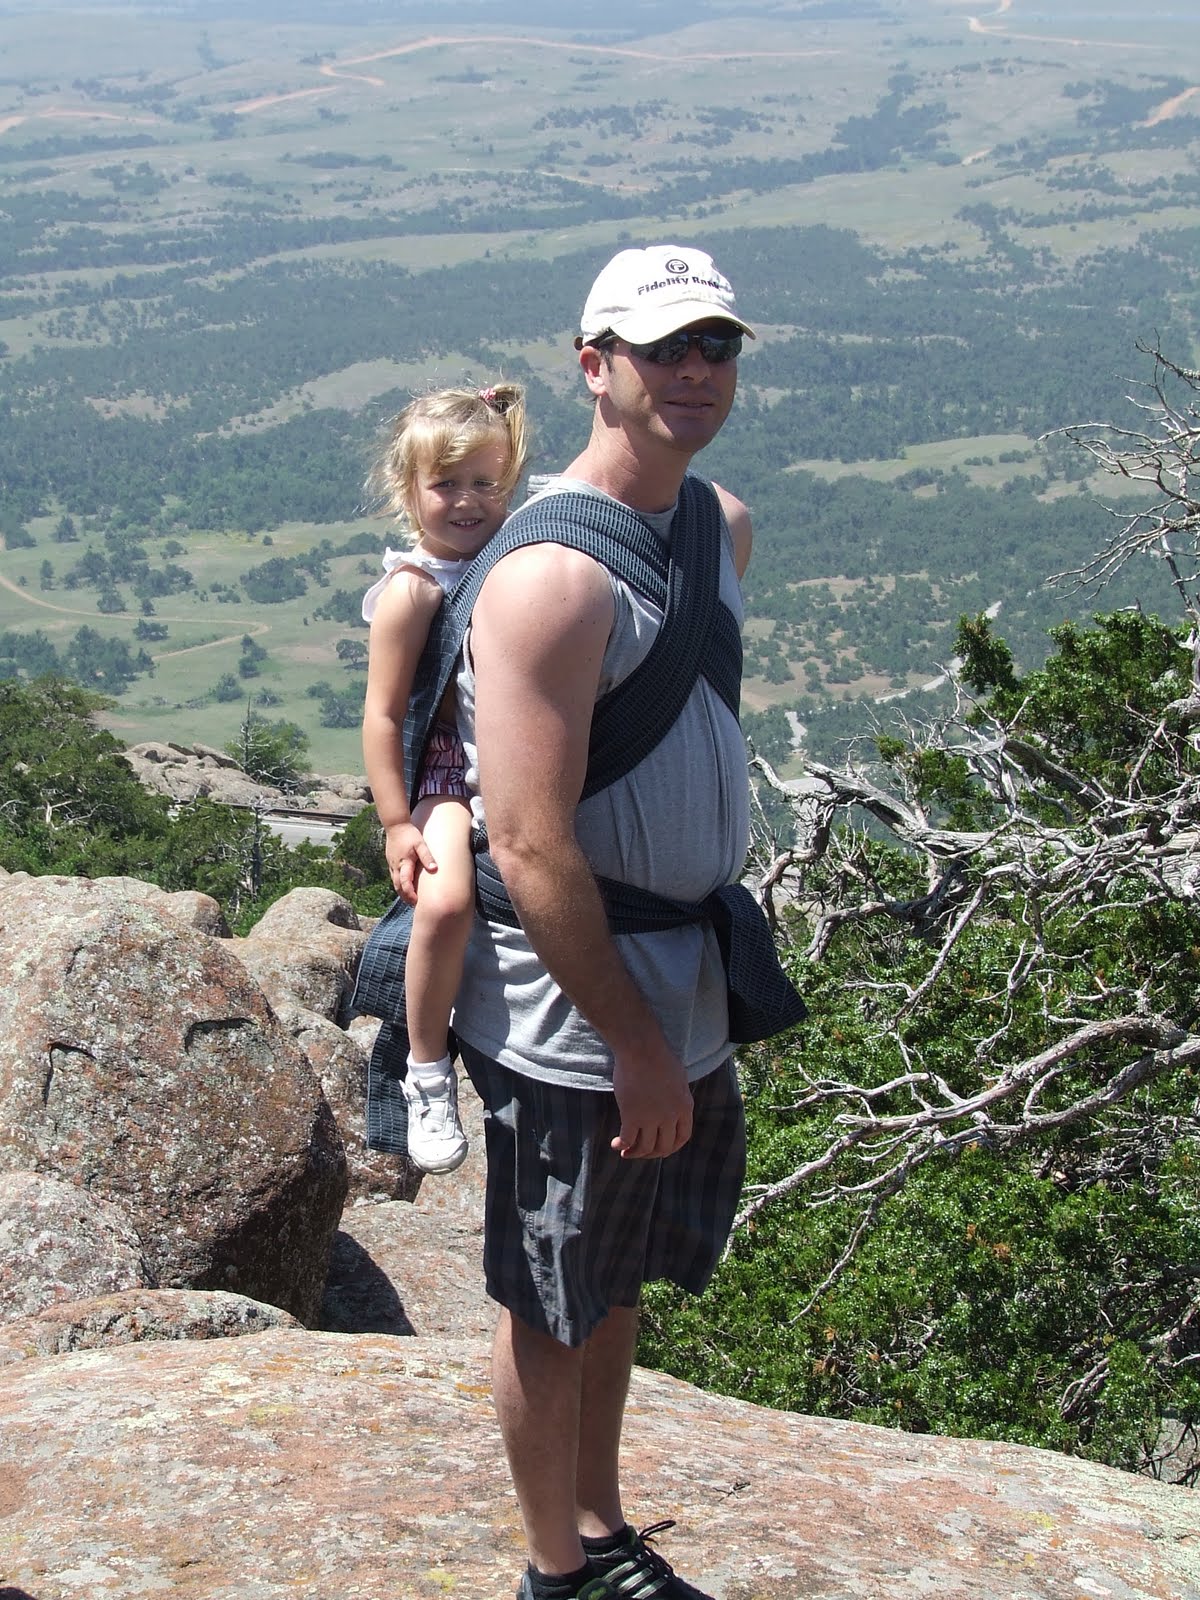
and here is how it looks with a bigger kid in it:

Ok, so here is how I made one...
1. Make pattern: I didn't make a head rest or neck support for mine since my kids are big now. If you are wanting to make this for a baby and grow with your child you might need to make the back arch up instead go straight across. Here are my measurements:

This is kind of typical measurements and what I used for the first one I made but for the 2nd, for my oldest daughter, I made the whole thing longer, around 24 inches instead of 20, because I thought it didn't go up high enough on her back.
3. Cut out the padding for the straps (I used quilting batting): I cut out 8 pieces (4 will be stacked together for each shoulder strap) that are 5 inches by 22 inches long. And 4 pieces that are 5 inches by 28 inches long.
4. Cut out body pieces ON FOLD: you will need 3 of them- one for the inside (where the baby sits), one for the outside (that everyone will see) and an inside layer for durability.
5. Assemble the padding: place 4 pieces of the same size together and sew a basting stitch so they stay in place. You should have 3 padding bundles when you are done.
6. Make straps: Fold straps in half, right sides together and sew the length. When done flip them right side out and iron them flat. You should finish with 3 long straps, one for the waist and 2 for the shoulders.
7. Insert the padding: Place the padding in the two shoulder straps about 5 inches from the opening. Place the last bundle of padding in the waist section in the dead center. (I used a safety pin with a string tied to it to pull the padding into the center)
8. Sew the long strips 2 times lengthwise through the center.
9. Layout body pieces like this:

with the straps sticking out the top by 5 inches and right sides of the inside and outside pieces together.
10. Stitch all around the body piece leaving the bottom open: I stitched twice across the straps just for durability.
11. Flip body to right sides out.
12. Tuck in the bottom and sew all around the body piece.
13. Sew the straps inside the body piece: with a square and "x" to help reinforce.

14. Center the waist strap with the center of the body piece and sew a square around the piece.

15. You are done!!


This is fabulous! I'm attempting this for my 4 year old son who has CP. Our family likes to tackle adventures that are not always "wheel-friendly" and it would be great to have "help" carrying him. When you enlarged it for your older daughter, did you just increase the length or increase it proportionately all over? Thanks for sharing! JB
ReplyDeleteI just increased the length. I found that most of their weight is on their bottoms and not their legs so it didn't matter, but with that said, I am sure it wouldn't hurt to increase it since you son is 4 and probably taller than my girls. Good luck with your project!! I am sure you will get a lot of use out of it!
ReplyDeleteThanks so much for this great tut! I hate to sound so dumb, but where do the straps over the shoulder tie? I couldn't tell by the pics. They almost look like they are sewed to the bottom of the body part. I'm going to try and convert this to a dog carrier but so I can carry him in front. :-) THANKS!
ReplyDeleteCheck out this website for instructions on how to tie your Mei Tai:
DeleteWww.babyhawk.com/Instructions/
looks like it tie in the back under the childs rear ,and around the waist of adult in front . pretty cool looking .takes the strain off the elbows . very nice
Deletewhat sort of material did you use?
ReplyDeleteFor the dark blue one I used an upholstery fabric that i had in my stash for a while so I am unsure of any specifics. It is pretty thick fabric, but for the lighter colored one I used a light teal corduroy and it is plenty strong. For the linings I just used coordination broadcloth for one and a cotton twill for the other (the light blue one's lining is on the outside for visual interest but there are still 2 layers on corduroy on the inside and other side). Hope this helps! good luck on your projects!
DeleteI noticed you showed a picture of a Boba carrier which is an SSC or Soft Structured Carrier, which had buckles there for is not A Mei Tai, or MT. There are many companies that make mei this for older and larger kids. It's misleading yo use the wrong type of carrier photo.
ReplyDeleteYour tutorial looks great. Latour looks done well. I will try this out (though will be modifying the bottom into an Onbuhimo and probably add a hood. Thank you
wondering if you'll even see this but my plan was to also add a hood and modify the bottom into an Onbuhimo !! wondering if you did it and how it worked out
DeleteGreat item for parents of toddlers to have on hand. Thanks for sharing your tut.
ReplyDeleteI too need to know what material you used. It looks super strong. Thanks, Jeanie
ReplyDeleteFor the dark blue one I used an upholstery fabric that i had in my stash for a while so I am unsure of any specifics. It is pretty thick fabric, but for the lighter colored one I used a light teal corduroy and it is plenty strong. For the linings I just used coordination broadcloth for one and a cotton twill for the other (the light blue one's lining is on the outside for visual interest but there are still 2 layers on corduroy on the inside and other side). Hope this helps! good luck on your projects!
DeleteThis looks great. I've pinned this as I'm looking to make a Mei Tai to add to my babywearing stash!! :) Yours look good and seem comfortable looking at your pics.
ReplyDeleteThanks for sharing. Will let you know how I go!
Thank you for this great tutorial! I'm just expecting a grandson and mei tai will be a marvellous gift. Thank you for your kind sharing!
ReplyDelete<3
Such an incredible and creative mind you have there. I wonder if I can do it on my own as well.
ReplyDelete<>
Is there a reason the inner body fabric is different then the outer? and what were the 3 fabrics you used ?
ReplyDeleteThe only reason I used different fabrics is because I just used some I found in my stash. I didn't have enough of one type to do the whole thing. For the dark blue one I used an upholstery fabric that i had in my stash for a while so I am unsure of any specifics. It is pretty thick fabric, but for the lighter colored one I used a light teal corduroy and it is plenty strong. For the linings I just used coordination broadcloth for one and a cotton twill for the other (the light blue one's lining is on the outside for visual interest but there are still 2 layers on corduroy on the inside and other side). Hope this helps! good luck on your projects!
DeleteJust finished sewing one of these. I was nervous at first, but your instructions were so clear and easy. I know Baby and I are going to enjoy using this. Thanks.
ReplyDeleteHow comfortable was your husband - or you for that matter? We've been trying to find backpack carriers that are comfy and just aren't. I'm in the middle of making the mei tai but I'm wondering if you have tricks, experience, etc..
ReplyDeleteThey were pretty comfortable. The girls were really heavy, especially to be hiking with, but the carrier distributed their weight between the shoulders/chest and the waist. It was like carrying a backpack.
DeleteStory, I didn't realize all my comments were being sent to the spam folder--- let me see if I can get some of these answered.
ReplyDeleteSo I want to make two of these since my son is a year old and I will have a newborn in a week or so. But I am leary about fabric that's strong enough and will hold up over the years. Any recommendations? Like canvas? Also where dod you find the padding for the shoulders
ReplyDeleteI used a thick upholstery fabric but denim, duck, or another thick fabric would work. Also you can find quilting batting anywhere, Hobby Lobby, Jo Ann's or even Walmart. It is next to the polyfill.
DeleteWhat an awesome tutorial. I searched about a year ago for a good visual tute but couldn't find one. Your pictures really help me understand the instructions very well.
ReplyDeleteI, too, have a stash of fabric that I'll be diving into for this project. My grand baby and my neighbors grand baby will be recipients of one of these.
Sincerely,
Debbie Andrews ...(0;
<><
I just made one based off your tut for my niece who likes to run away and sometimes just wants to be carried. She is also a tall girl so I made it 24inches for the body. Thanks for putting this out there.
ReplyDeleteGreat tutorial! I made this today, with a cotton woven 65"x80" tablecloth that I tie-dyed in rainbow stripes. I accidentally made the shoulder straps half as wide as I was supposed to, but I am very petite and they actually feel perfect on me! I added a hood, which I will be decorating with a Rainbow Dash cutie mark as soon as I can find one. I love it!
ReplyDeleteHow did you attach your hood to this please? Did you make the hood first?? Many thanks, Claire
DeleteNope, never made a hood. Just used them just like this and last year I passed them down to my niece and nephew so they are holding up great!
DeleteThank you for this! I am a beginner to sewing and the instructions were super simple to follow. I am happy with how it turned out and it is the perfect baby gift for my new nephew.
ReplyDeleteGood handmade Mei Tai Baby Carrier looks so convenient. Providing safety carrier is really vital for toddlers and babies. Try Piggyback Rider - a standing child carrier for toddlers, which allows parents to adventure farther and longer. It creates a mutually enjoyable, effortless way to carry a child on your back.
ReplyDeleteHi there,
ReplyDeleteI just wanted to say thank you, thank you, thank you for your generous and detailed instructions. I too am a beginner at sewing .... but your tutorial was so so easy to follow. I followed it to a tee and (despite having two very little ones clinging on to me from time to time), managed to start and finish this project in one day.
I had a stash of upholstery fabric that i used and it looks super strong. I have just finished the carrier but my babies are asleep so I shall test it out tomorrow. But once again, a huge thank you. You have saved me £££ today and also given me something to be proud of. Best regards,
Mehreen
Thanks for this amazing tutorial. I was hoping to make a carrier with a hood and wondered if you'd know how I'd do that? I'm a beginner and can't work out how best to do it. Many thanks :)
ReplyDeleteWould cordaroy be strong enough and can you use anything for the outside
ReplyDeleteParents of two children with just a bit of an age gap between them might find a sit and stand stroller handy in a lot of going-outside situations.
ReplyDeleteYou can use a sit and stand stroller 2019 when you’re taking your kids out for grocery shopping,
a walk in the park or to the neighbors next door. A sit and stand stroller can accommodate both your kids while offering you the peace of mind you need to enjoy these moments with your kids.
Great Job guy! Keep Up the excellent Work!!!