Showing posts with label gift ideas. Show all posts

Tuesday, January 8, 2013

Soccer Dolls

Rag Doll Soccer Player

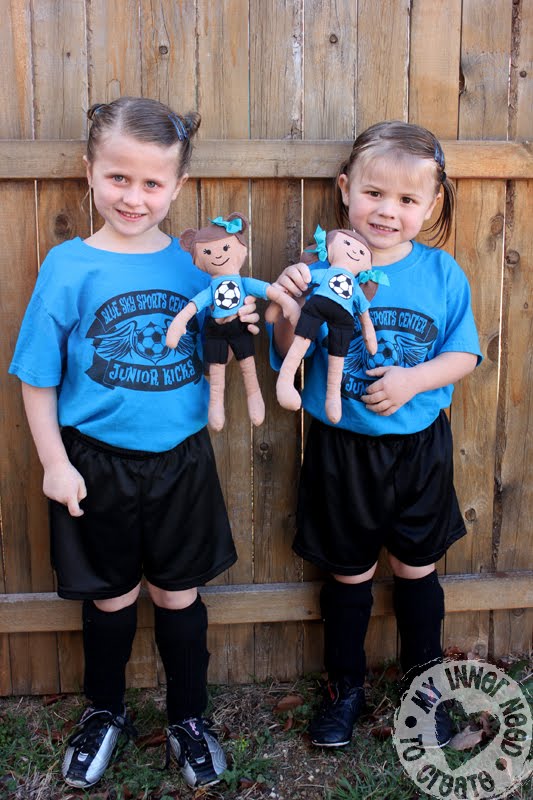
I am the coach of a 4-5 year old girls soccer team, named the Jaybirds. Our team has been together for 4 seasons and so we have become a really close knit group. We all appreciate the fact that all the kids and all the parents get along so well.
Rag Doll Soccer Player

Well, I wanted make my girls some rag dolls for a while and while designing them out I thought I would dress the dolls in soccer uniforms... then it occurred to me that all the Jaybirds would love a doll for Christmas.

Rag Doll Soccer Player

I tried to make each doll as unique as the girl they represented. Each with a different hair style and hair color, but with the same blue uniform and black shorts. The soccer balls on their shirts are painted on.

Rag Doll Soccer Player

I also painted each one with their name and number on the back of the jerseys.

Rag Doll Soccer Player

The faces are painted with black fabric paint.

Rag Doll Soccer Player


The girls loved them!
Want to make a couple of your own? Here's how:
Cut out the base body parts out of flesh colored fabric.


Rag Doll Soccer Player

Cut out 4 sleeve pieces and 2 shirt pieces out of what color you want to make the shirt. Hem the bottom of all 4 of the sleeve pieces and the neckline and bottom of the shirt, front and back pieces.

Cut out 4 leg pieces of the shorts and 2 short pieces from the black. Hem the top of the shorts and the bottoms of the leg pieces.


 Rag Doll Soccer Player

Cut the desired hairstyle out of felt. Doubling any pigtails or ponytails and sewing them together, wrong sides together and don't flip.
Sew the hairstyle onto the head- stitching nicely around the bangs that frame the face and by the neck on the back of the head.

Rag Doll Soccer Player

Next, sandwich two pieces of the shirt sleeve between 2 of the arm pieces (all right sides together) and sew around leaving an opening at the top. Then turn inside out and stuff.
Do the same for the legs (the seam on the legs will be at the top of the thigh so make sure the hems of the short match up or it will look funny).

Rag Doll Soccer Player

Baste the shirts, shorts and pigtails onto the front and back of the main body pieces. Then bast the arms onto the body.
Put the right sides together and sew around the body leaving the bottom of the doll open. Flip the doll inside out and stuff.
Fold the bottom of the inward and pin the legs and the bottom closed. Stitch straight across with black thread- and you're done! 


Rag Doll Soccer PlayerRag Doll Soccer Player

I tied the bows and hand stitched them on tight.

Rag Doll Soccer Player

My little soccer players are as cute as their dolls =)

~Jessica

Ladybird Ln

Monday, January 7, 2013

Peppermint Christmas Gifts

Browsing around Pinterest before Christmas I found a couple cute ideas that I made for teachers and girlfriends. And it all starts with peppermint essential oil...
 
 
Up first is the Peppermint Sugar Scrubs.
You can find a million recipes on the Internet, I just did mine really simple mixing 2 cups sugar with 1 cup oil and adding 1 tsp of peppermint essential oil. To make the red just add a little food color and stir well.
I found the jars 1/2 off at Hobby Lobby, which was really good since I made 8 of these.
The left overs that didn't fit in the jars I gave to my girls and I have to say these feel really  good on dry winter skin!


Next I made some Peppermint Rice Heating Pads.
I found this tutorial on UCreate's 28 Last Minute Handmade Gifts from the Green Wife.


All you need is flannel, rice and peppermint essential oil.
Sew along the outside of the rectangle with right sides together, leaving an opening to pour in the rice. Flip inside out, pour in desired amount of rice and then pin all the way across to keep the rice in place while you sew. Continue making the desired size pockets.
 
 
I made one for myself also =) and I can attest to the rice holding the heat for quite a while and the peppermint oil adding a smoothing/calming effect.
 
Hope you all had a great holiday season!
~ Jessica
 

Friday, March 23, 2012

Personalized Kids Backpack

Kids Personalized Backpacks

 I got this Oliver & S Little Things to Sew book for my birthday. I love so many of the patterns in it I already made the Messenger Bag (I made it into a bike bag, check out my post here.) I also used the Bucket Hat pattern in my entry to Project Run and Play (check out the post here.)
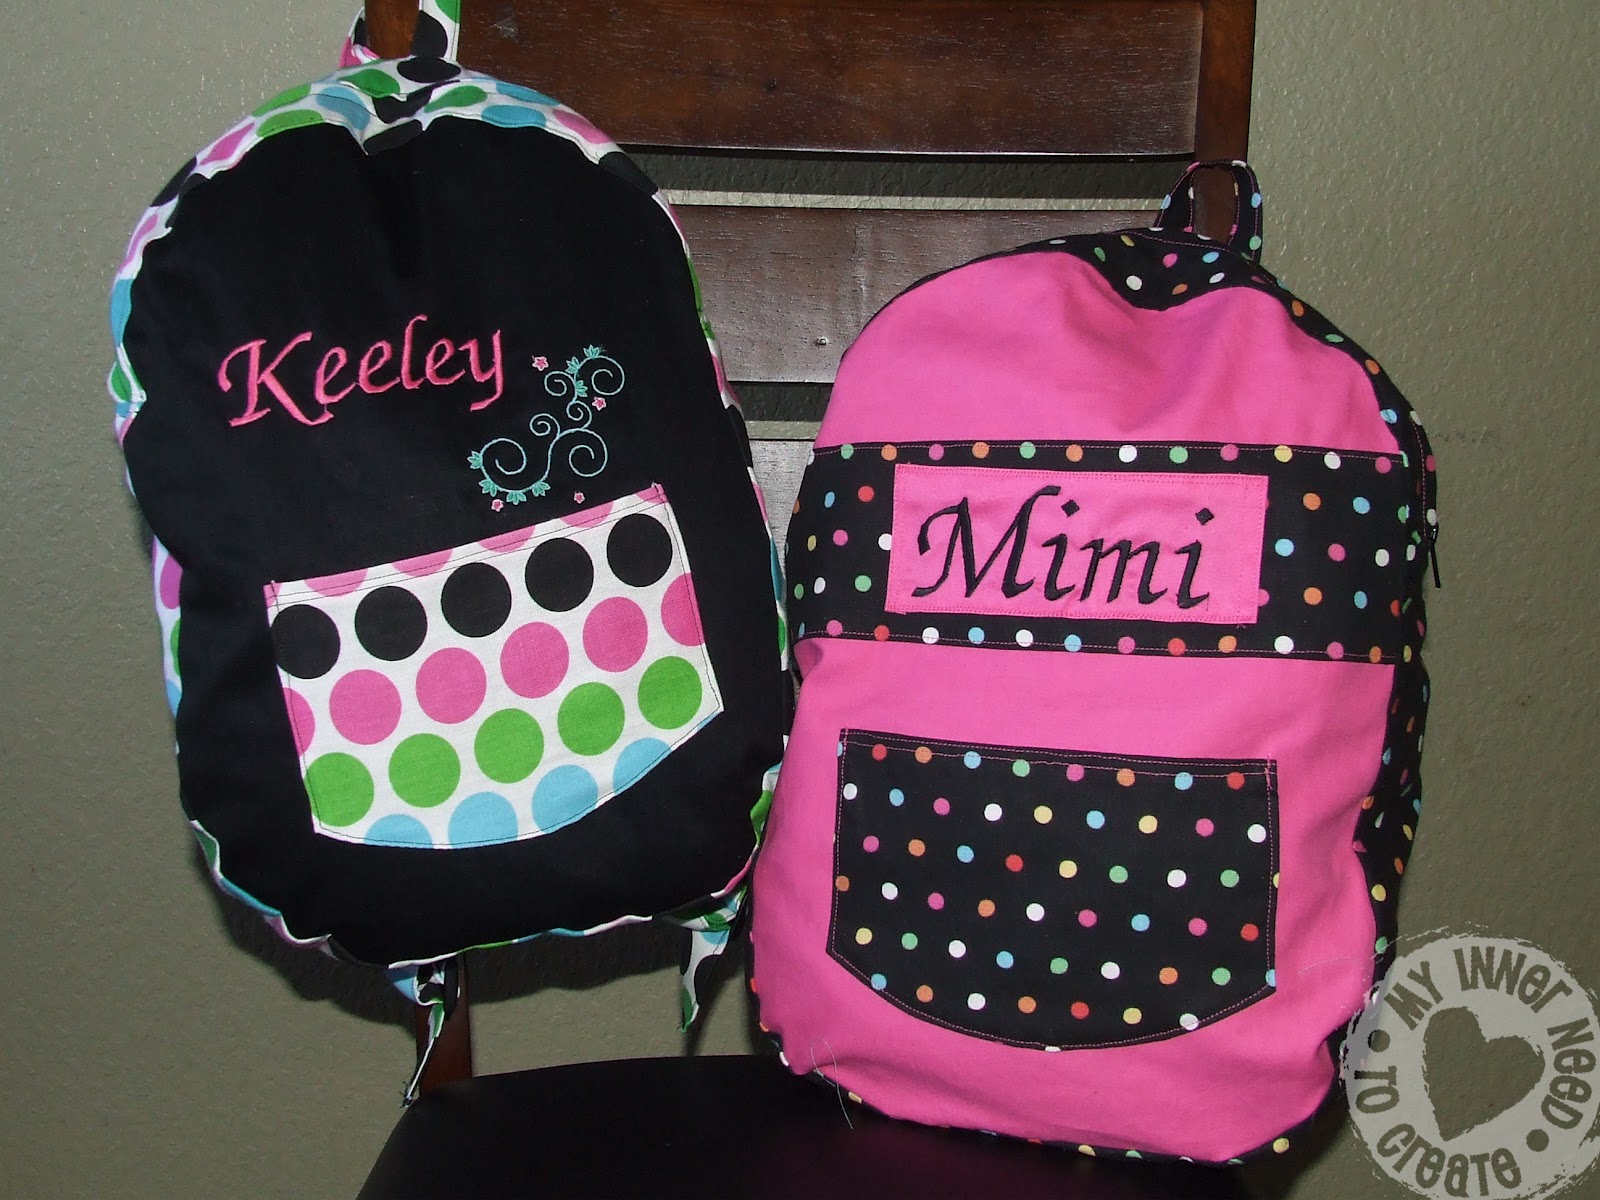
Two of the girls on my soccer team (they are twins =) are having a birthday party and we are going. I wanted to make them something special and I thought of the backpack pattern in the book.
I think that they turned out great! I found this great printed broad cloth at Hobby Lobby and got to use my embroidery function on my machine.
Kids Personalized Backpacks
I made a few changes to the pattern.
First- I was afraid that the pattern was too small and the bag would turn out too small for a regular size folder or papers, so I increased the size of the front and back panels by about an inch all the way around. I also had to increase the width piece so it would be long enough to make it all the way around the bag.
Next- I found after I traced and cut out all the pattern pieces that even though the photo in the book shows the backpack in the plain style (with a single piece flat front) as well as in the penguin embellished style with the split front, that the pattern has the split front panel for both styles. So I used the front panel liner as the pattern piece for the front panel piece as well as for the liner front panel piece.
I did the personalization and the pocket onto the front panel before starting the pattern directions and assembling the bag.

Kids Personalized Backpacks

After I finished the bag (but before inserting the lining) I had my girls try out the bag and found that having the straps sewed into the middle (ish) of the bag made the top of the bag hang over and look weird. This could be because I made the bag bigger, but just warning you, you might want to try it our before inserting the lining. So I moved the straps up and inserted them into the seam at the top of the bag.

Kids Personalized Backpacks

I also couldn't find the 1.5 inch strap adjusters the book calls for. So I just used the 1 inch backpack strap adjusters I found at the store. Just adjust your straps to be 1 inch instead.

Here is the finished bags:

Kids Personalized Backpacks

Kids Personalized Backpacks

I lined the bags with a soft cotton in aqua and it really finished off the bags.

Kids Personalized Backpacks

Kids Personalized Backpacks

Kids Personalized Backpacks

Kids Personalized Backpacks
The bags turned out to be a great size, can fit several coloring books and toys!
Kids Personalized Backpacks

Hope the girls like them! Have a great weekend!
Kids Personalized Backpacks

Kids Personalized Backpacks

Wednesday, December 21, 2011

Apple Ornament for Teachers- Made from a Book!

Apple Ornament made from a book

Apple Ornament made from a book

Doing a goggle image search for an idea for a teacher's Christmas gift I ran across this neat idea from texascottage.blogspot.com. I thought it would be a neat idea for a teacher's gift, I mean what says Teacher more than books and apples!!!

Here's  how I did mine:
First you find a book that you don't mine cutting up. Then remove the front cover and draw & cut out a half of apple shape on to the removed cover.
Apple Ornament made from a book

Use this cut piece as a template to cut the half apple from the book. You need to make sure you place the edge on the spine of the book and not cut this edge.
Apple Ornament made from a book

Use an exacto knife to cut down as far as you can into the book, cutting around the cover as a template.
Apple Ornament made from a book

Continue to flip the cut pages over and cut until you make it all the way through the book.
Apple Ornament made from a book

When done use a scissor to even out the pages and make sure to fold the front page to the back page together make sure that the pieces match, if they don't just trim until they do.
Apple Ornament made from a book

When done it will look like this:
Apple Ornament made from a book

Now is a good time to put the front page and back page together, fan out the pages and see if you need want less pages- really just your preference to how full you want your apple to be.

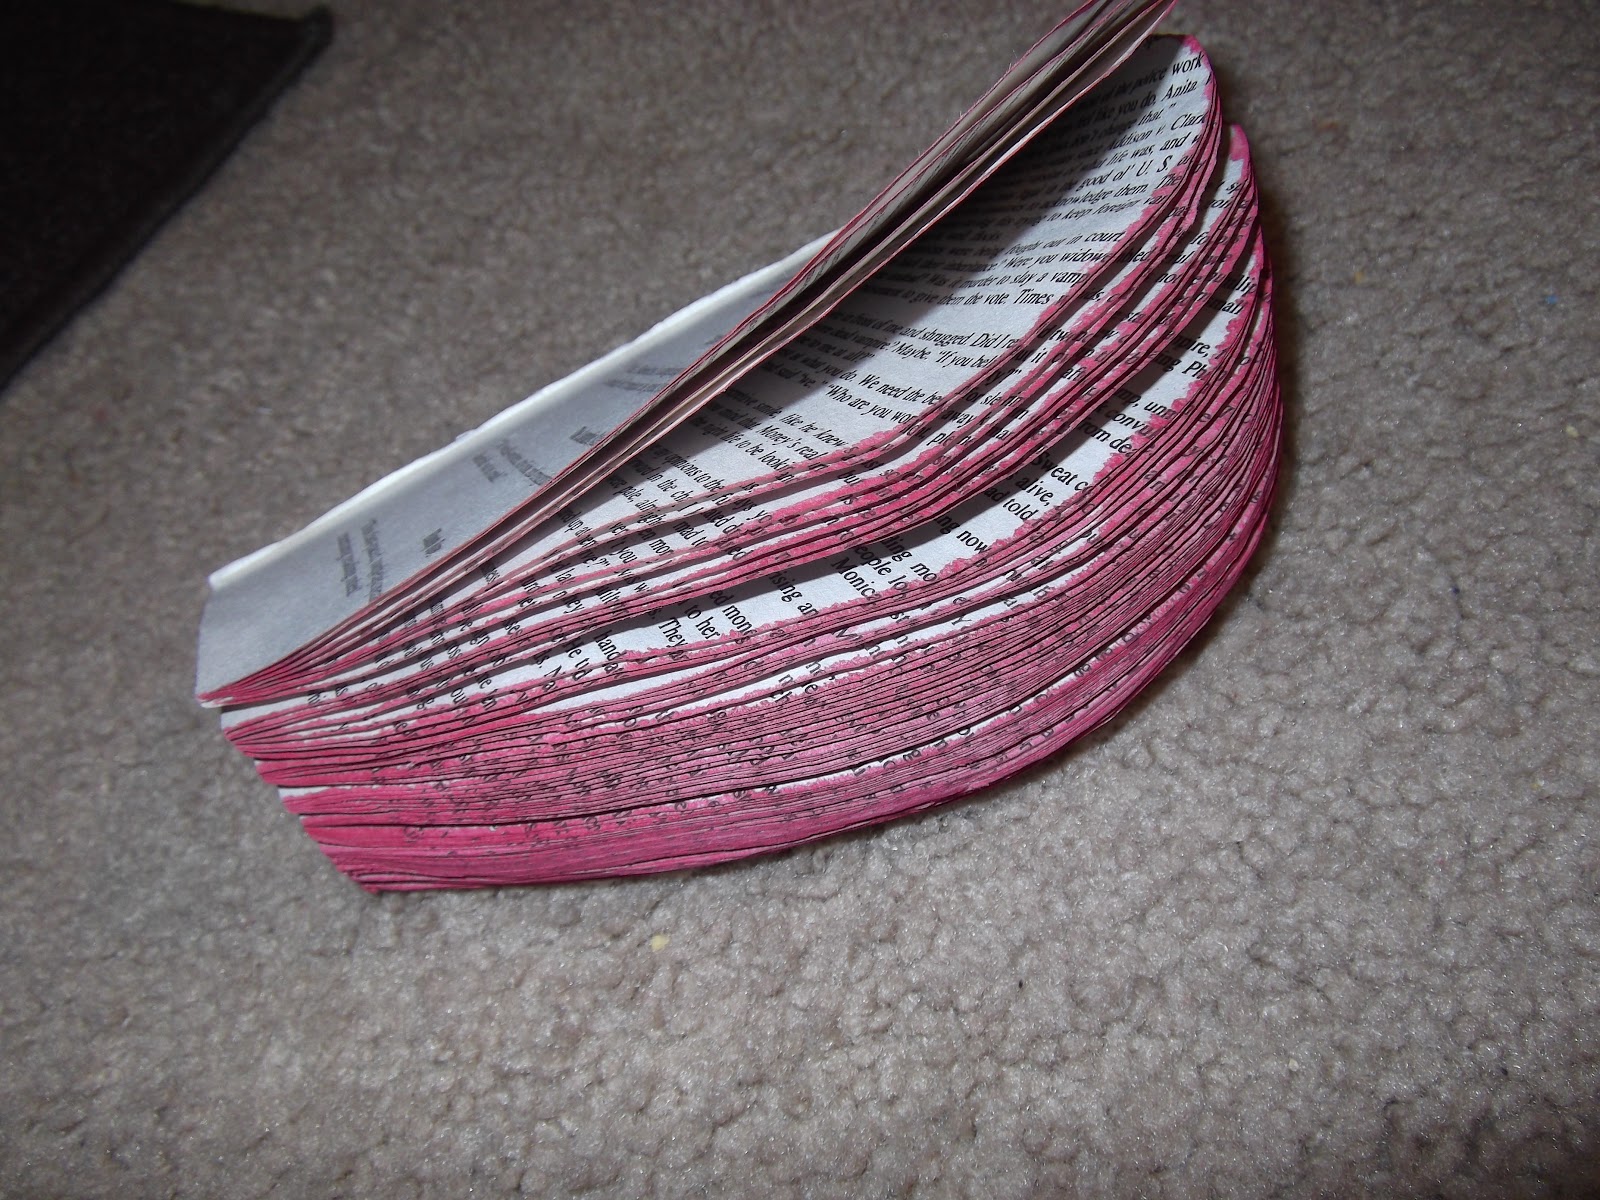
Next I took red acrylic paint and added water to dilute it. The water will make the color lighter and also let the color bleed into the apple. Now hold the book with all the pages together paint the edges.

Apple Ornament made from a book

After painting you need to dry the pages with a blow dryer so they don't stick together. If you let the pages fan out while drying them it makes the pages spread out nice and evenly- I think it is the heat loosening the glue on the spine of the book.
Apple Ornament made from a book


Next glue a piece of stick into the spine of the book. I used fabric glue because I have found it holds really well and it doesn't make the pages wrinkle. Then glue the front and back pages together and hold them closed with paper clips or binder clips. Only glue the front and back pages together but paper clip more than those 2 pages so that the book drys with the pages spread out.

Apple Ornament made from a book

I let mine dry overnight and voila! A finished book apple! I sprayed mine with clear spray varnish to make the pages a little stiffer.
After making this apple I decided that it would be cuter and more practical to make the apple smaller and into an ornament. So I went back and did all these steps but smaller (I actually fit two onto one book)  and then tied a piece of fishing line onto the "stem" so that this could be a Christmas ornament.

Apple Ornament made from a book

I love the finished product & the teachers loved it too! Might be making these for future teachers for years to come!

Apple Ornament made from a book

Monday, December 5, 2011

Mother Bird Nest Necklace

Mother Bird Nest Necklace

I have been seeing these Bird Nest Necklaces around lately and thought they were really neat! So I was pleasantly surprised when on pinterest one afternoon I found a tutorial on Sarah Ortega's website to make my own.

Handmade Mother Bird Nest Necklace

Off I went to hobby lobby for supplies- chain, 24 gauge silver wire (I also got bronze because it will look more like brown twigs but decided to make my first nest with the silver since it matched the chain) and your choice of beads.
Follow this tutorial here: DIY Nest Necklace

DIY Mother Bird Necklace

I put 3 eggs in my nest since I have 3 birds. I started off putting the eggs in the color of their birth stones but with 2 blue and one pink (March and October) it looked like I had 2 boys and a girl (I have 2 girls and a boy) so I just picked some colors I liked that complimented each other. I think I will make some more of these charms for Christmas gifts this year!

Mother Bird Nest Tutorial
(Back of the charm.)

Eggs in Bird Nest Necklace