Thursday, September 29, 2011

Soccer Bag in 3-D!


This is my daughter's first year to play soccer, she is 3 (will be 4 next month). She loves it! So I thought I would make her a bag to carry her ball and water to practice. And a bag that will store her cleats and shin guards when not playing soccer. So I got to work designing my next soccer bag, here is the one I made for my son awhile ago: Soccer Bag
So as I drew out what I wanted to make I realized 2 things, she is small but the things she needs to carry aren't. Meaning I wanted to make her a small drawstring backpack- but it needed to be big enough to fit a ball so my idea of a 3-D applique was born...


 I think the size fits her perfectly...


And she seems to like it! 


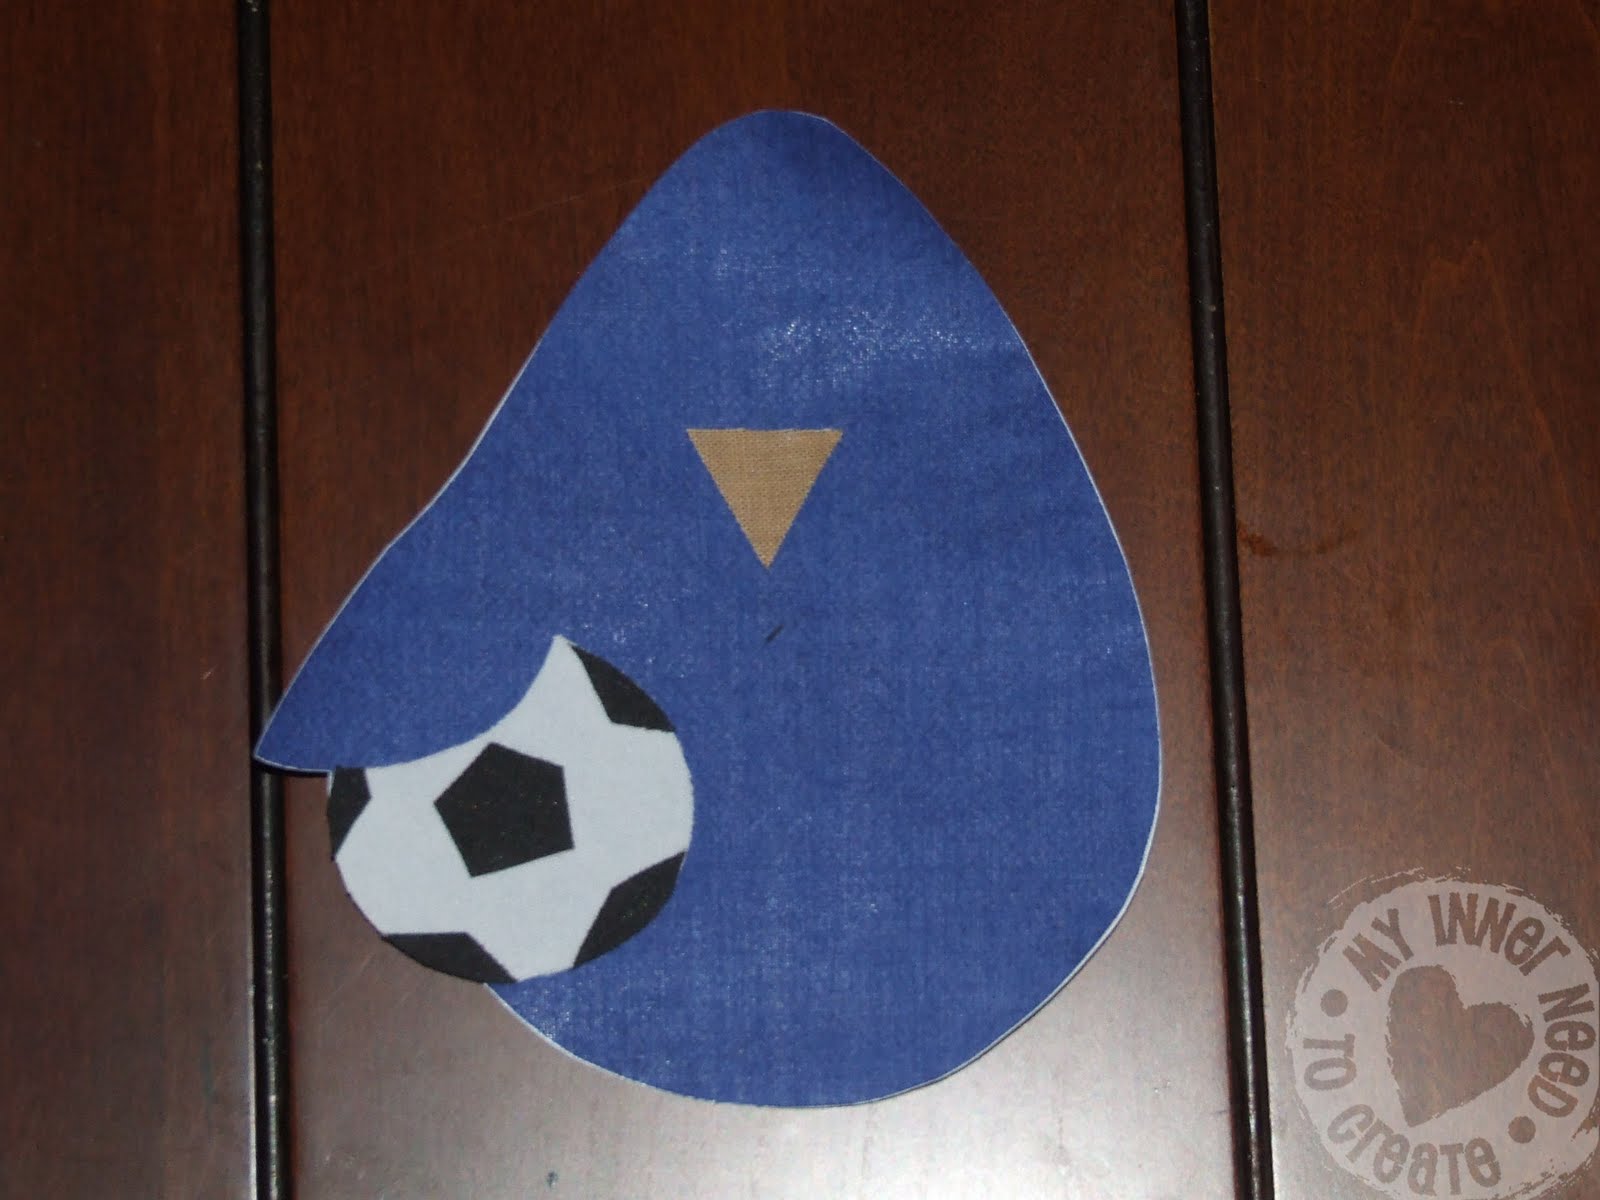
So you want to know how to make one? First I took the ball as traced the 2 basic shapes onto paper. Next cut out all the shapes (don't forget to add a seam allowance!) that you need to make 1/2 a ball. 


Sew all the pieces together.


Next I cut a white fabric to be my inside lining and laid that and the ball fabric onto a real ball. I folded under the raw edges of the ball and folded the lining fabric up to create a clean edge.


Sew on to the fabric of the bag.


Make sure it holds the 3-D shape of the ball.


Flip it over and carefully cut out the bag fabric and not the ball fabric or the lining. Now is the time to embroider a name on the bag if you are going to do so.


Since my bag fabric wasn't as thick as I would of liked and I had some $1 fabric with soccer bags in my fabric stash in my closet I decided to line my bag. I pinned the lining to the inside of the bag and cut the opening to match the black bag opening.


Then I folded the black bag fabric up and under the soccer ball lining fabric which I folded under making the seam nice and pretty.


Fold down the top and sew leaving the space to pull the cord through for the drawstring. If you need help on how to make the drawstring bag with 2 pulls from each side you can see it here: Texas Drawstring Bag
Remember if you want to make this into a backpack you will need to sew loops into the bag at either side to hold the two ends of the drawstrings.


And there you have it! The ball fits perfectly into it's place with plenty of room for a water bottle!


A bag any soccer player would love!


I decided to enter my project into the American Crafter contest over at Naptime Crafters!! Cross your fingers for me!


I also linked it here:

Whimsy Couture


Wednesday, September 28, 2011

Painted Pattern Artwork

Since I am a stay-at-home mother with 3 small children, living off of one income, I like to give gifts that require more of my time and thought than money. But I find it hard to make homemade gifts for adults...

Here was my solution for a birthday present for a dear friend this week: small canvas artwork.  Since art is so subjective I thought that a nice pattern would be a nice subject matter, And I picked  a size that could be hung anywhere, but not necessarily be the main piece of art in her house.


I had done some damask inspired paintings for my bedroom a couple years ago. They are 3 of them and actually they are quite big: 2 ft by 4 ft. I painted them onto thin plywood and screwed them into the wall.


Our bedroom is huge and the wall that you see when entering the room was just a huge blank space so these painting span the entire width of the room.


So I did these painting the same way I did the smaller canvas ones:
First I drew out the pattern on a sheet of paper.


Then you turn it over and using a pencil, color the whole back side.


Then all you have to do is lay it on the canvas and trace over the pattern. The lead from the back side will rub off onto the canvas and leave a faint mark. (of course if you are doing a bigger piece of art you will have to move your paper, relining it up and tracing again and again, I recommend tracing paper for that).


Now all you have to do is paint it in. Yes, it is a slow process with a little brush but the outcome is gorgeous!

I paired it with a bag I found at Target with the same pattern and a sewn fabric covered card.

Friday, September 23, 2011

Simplicity Pattern 2219


After looking at my daughters' closets I decided they didn't need me to make them anymore clothing. So I have moved on to me. I think will be good since I will be able to wear anything I make for me a lot longer than the kids can, since hopefully I won't be getting any bigger!!

While at Hobby Lobby a couple months ago they were having a $1 pattern sale (YAY!!) so I picked up a couple for me... this was one of them: Simplicity 2219

Very easy pattern, it is made with a stretch knit material so no zippers, buttons or other complicated sewing techniques needed. Actually this would be a great starter pattern for those learning to sew- except the elastic at the waist was confusing to insert. But I highly recommend that you do insert the elastic. It made the dress's empire waist hug my rib cage, and without it the dress would of looked looser and more like a maternity dress.

I made this dress's back like style "D" (above), full coverage. But if I do the dress again I think it would be neat to make the middle panel out of a lace or sheerer fabric.


I thought that I would post my review of this pattern on SewingPatternReview.com


Since it is still in the 90's here in Texas, I guess I will be wearing my new dress to church this Sunday. Hope you all have a great weekend!

Thursday, September 8, 2011

Adding an Applique to Give New Life to an Old Bag


Yes, another soccer related post.... Sorry but I am the coach of my 3 year old daughter's soccer team. That means I have to plan practices, notify parents of information, snack schedules, games etc. And so I have a couple things I take to every practice and game (including my wistle, which I kept misplacing till I made this bag!) so I needed a bag to carry it all in, (not to mention to keep it in all the other days of the week that I wasn't being a coach.) So I found this nice bag at Goodwill:

But it has this ugly logo on it. Oh, what to do, oh yeah I know how to applique...
So I desided since I already appliqued a soccer ball I would do something a little different and do a Jaybird (the name of our team). I found this cute little guy on this website: cafepress.com
I drew him out on paper, traced him on to fusible interfacing, ironed it on to the fabric and cut him out...
voilia!
(If you need a better instruction with photos you can read how I did it here.)


Now all that was left was to iron it onto the bag and sew all around the brid and the ball. (I did figure out how to use the period on a font that came with my embrodery machine to make the eyes on the bird so they turned out little perfect circles with little effort from me.)

So here is my new coach's bag:

Thursday, September 1, 2011

Soccer Sleeve Holders!


This is my middle daughter JJ, she got to start soccer this year and I was recruited into coaching her team (that is why you will see so many soccer related posts this month). The coaching is going ok, considering I have never played soccer or coached anything in my life.
My sister just started a blog and her description of my team is hilarious... this is her blog.


Since my team consists of 3 &4 year old girls, their XXS uniforms are still big on them. So after seeing a couple girls tying their sleeves up with these cute little tie backs, I thought I would make my soccer star some of her own...


I started off with 4 pieces of fabric measuring around 1 1/2 inches by 6 inches, 2 pieces of elastic around 3 inches long and 2 pieces of Velcro.


First sew the elastic to the wrong side of your fabric about 1 1/2 inches from each side.
The fabric will gather in the center.


Next sew the Velcro onto the fabric.
One will be on the left side of one of the pieces of fabric and one on the right side of the piece of fabric with the elastic sewed onto it.


Next sew the two pieces of fabric together putting right sides together and leaving a hole on the long side so that you can flip it inside out.


Flip inside out, tuck in the raw edges of the hole you left and sew all the way around.


And there you have it, a cooler, less encumbering uniform!


Go team Jaybirds!